Beowulf Illustrations
I
II
Some of the illustrations are available as prints or postcards in my  shop
shop
|
|
Beowulf
advances |
|
|
Fire
|
|
|
The
battleshirkers flee |
|
|
Wiglaf's
sword (not used)
|
 |
Wiglaf
|
|
|
Wiglaf
comes to Beowufl's aid |
 |
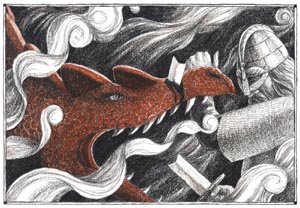
The
fight I |
|
|
The fight
II
|
 |
Wiglaf
and Beowulf |
|
|
The
golden standard
(this
flag is based on a weather-vane found on a Viking ship in Norway)
|
|
|
The torque
(the
animal heads are based on carvings found on bedposts in the Oseberg
ship-burial from Oseberg, Norway, 9th century AD)
|
|
|
The
death of Beowulf |
|
|
Wiglaf
mourns his king |
|
|
Battlehorn
(based
on drinking horns from the Sutton Hoo ship-burial)
|
 |
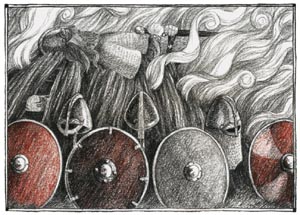
Shieldwall
|
|
|
The
warriors return |
 |
The
felled foe |
 |
Into
the barrow |
 |
Beowulf's
pyre |
|
|
The
funeral |
 |
Beowulf's
Barrow |
| |
|
Beowulf
I
II
![]()
![]()
![]() shop
shop